Brown Rice Flour Dosa – Crispy Dosa made with brown rice flour and urad dal. If you are looking for an alternative to white rice dosa, this recipe is for you.
WHAT IS DOSA?
Dosa is a thin and crispy savory pancake made with rice and urad dal. It is a popular South Indian breakfast, which is enjoyed globally.
Some of of the Dosa recipes I have shared are – Rice Flour Dosa, Instant Jowar Dosa, Ragi Dosa, Oats Dosa and Green Moong Dal Dosa.
Today I am sharing the dosa recipe which is made with brown rice flour. The process of making this batter is same as you would use rice, we just replace rice with brown rice flour.
Why make dosa with Brown Rice Flour?
- if you are trying to avoid dosa as it is made with white rice, this recipe is for you
- you don’t need a wet grinder or a powerful blender
- these dosa’s tastes very similar to regular dosa
- takes just 3 minutes of grinding and 2 minutes to mix the batter
- a great beginner recipe
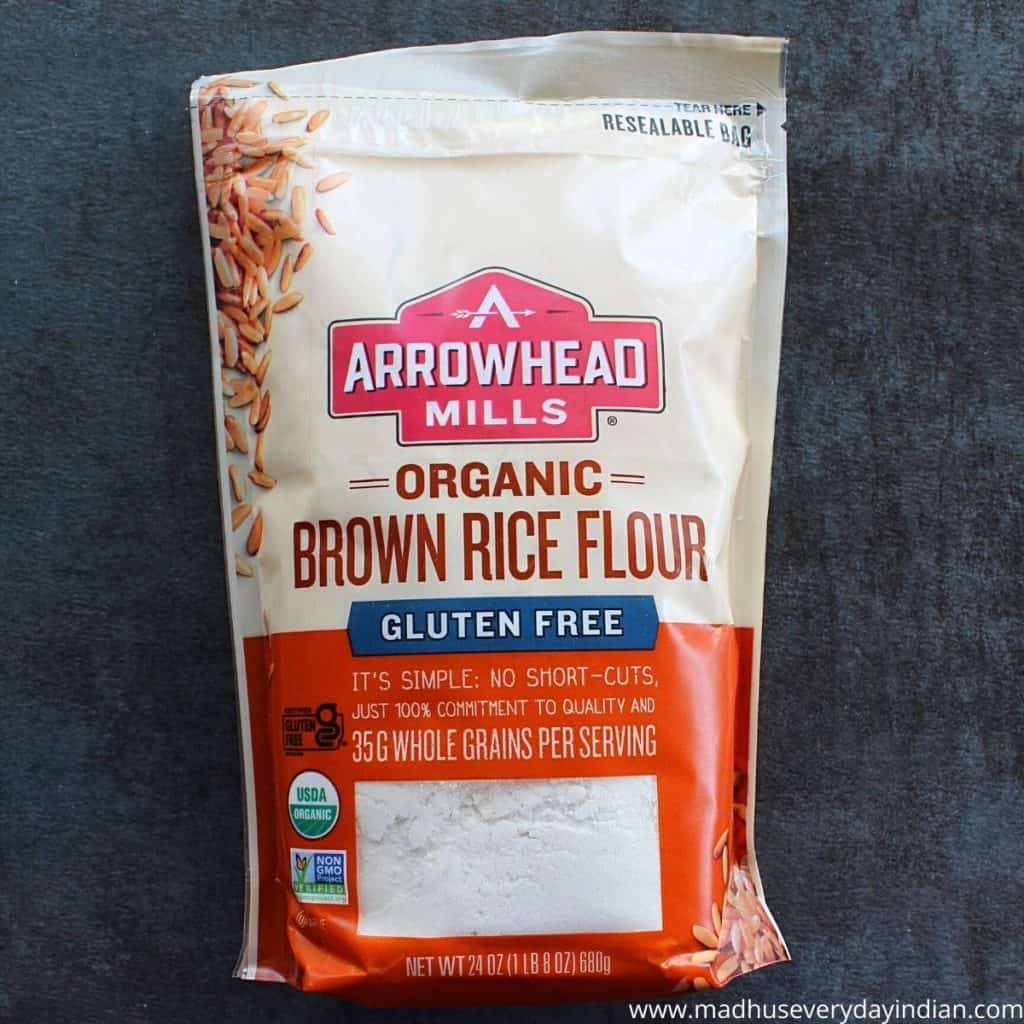
Picture of Brown Rice Flour –
Ingredients:
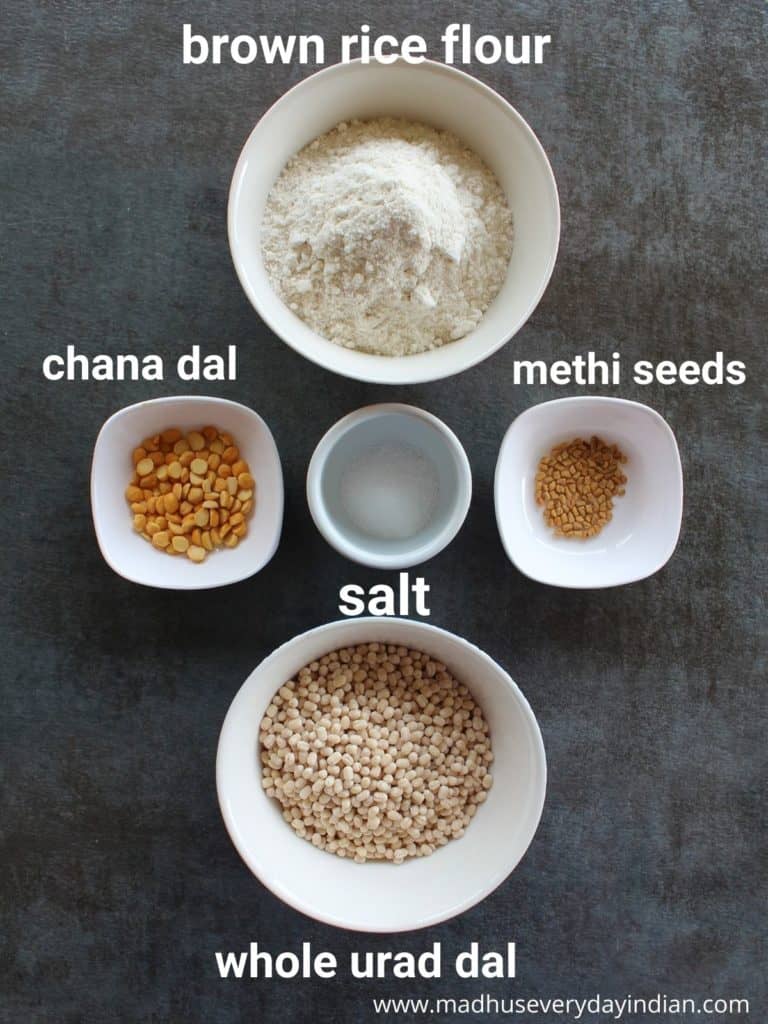
Brown Rice Flour – you can find brown rice flour in some grocery stores and amazon.
Urad Dal – use whole urad dal, they are available in Indian stores.
Chana dal & Methi – can be purchased in Indian stores
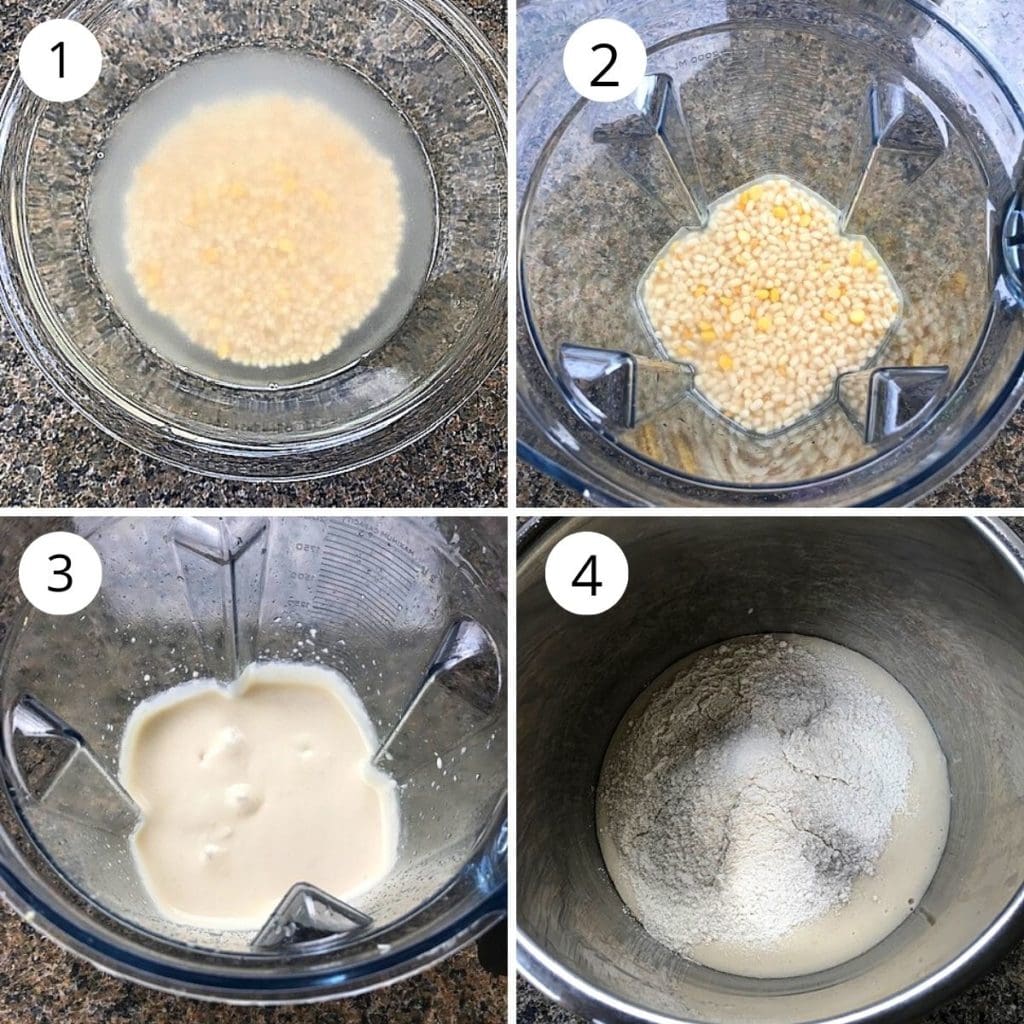
How to make Brown Rice Flour Dosa ?
1 – Wash the urad dal, methi and chana dal and soak in plenty of water for 5 hours.
2& 3- Discard the soaked water and grind urad dal, methi, chana dal with 1 ¼ cups of water to a smooth paste.
4 – Transfer the batter to a large bowl or to steel pot of the instant pot. Add ¼ cup of water to the blender to get rest of the batter out. Add rice flour, salt and enough water ( start with 3 cups and add another ½ cup as needed) to make a batter with a consistency similar to pan cake batter.
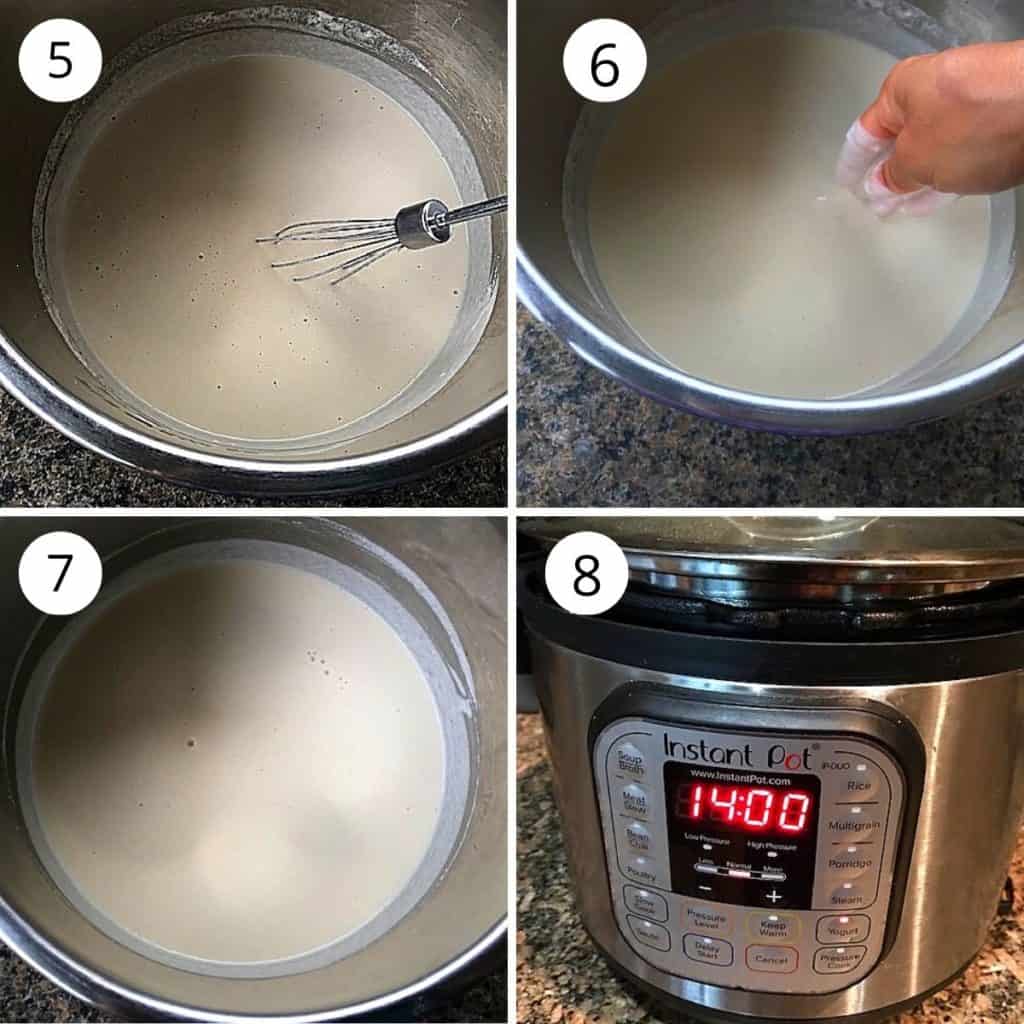
5 & 6 – Initially use a whisk to remove any lumps and later with clean hands mix the batter for 2 minutes.
7 – The consistency of the batter should be free flowing, neither too thick nor too runny. If its too runny or too thick, the batter will not ferment well.
8 – Ferment the batter for 12 to 14 hours. I used instant pot, yogurt mode to ferment the batter. I set the time for 14 hours ( in low pressure). Cover the pot with a steel or glass lid ( do not use the instant pot lid, if the batter over flows it will lock the IP lid).
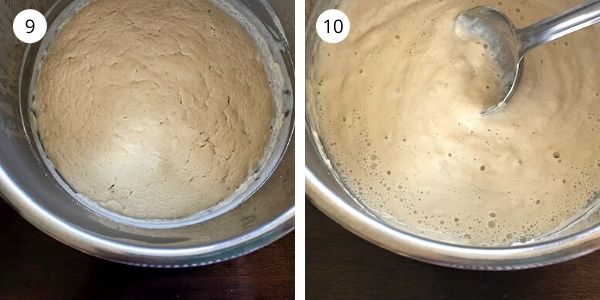
9 & 10 – The next day the batter will be fermented, it will be frothy and will have bubbles on the top. Brown Rice Flour dosa batter will ferment well, but will not double as it would when you use regular rice.
Making the Dosa
Heat a cast iron skillet, apply oil and smother it evenly. Splash some water and wipe it off with a paper towel.
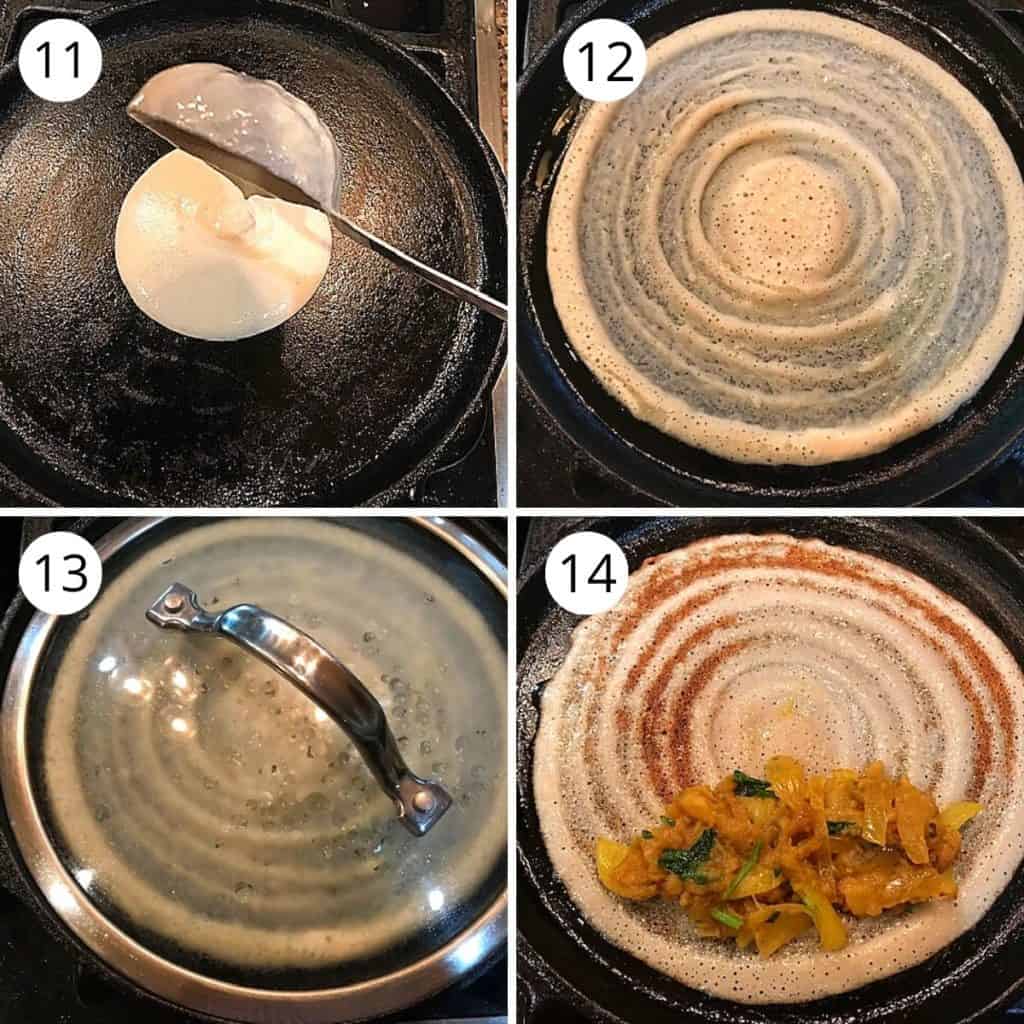
Stir the fermented batter and pour a ladle of the batter in the center of the skillet. Spread the batter into a thin circle. Drizzle a teaspoon of oil all around the dosa.
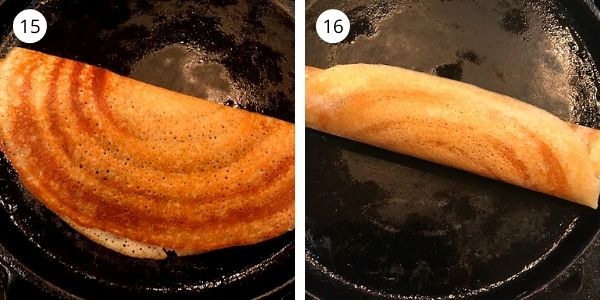
Close the lid for 45 seconds. When you remove the lid you will see that the edges turning golden brown. Drizzle some ghee or oil and cook for another 20 – 30 seconds. If you have potato masala, add it now and fold the dosa.
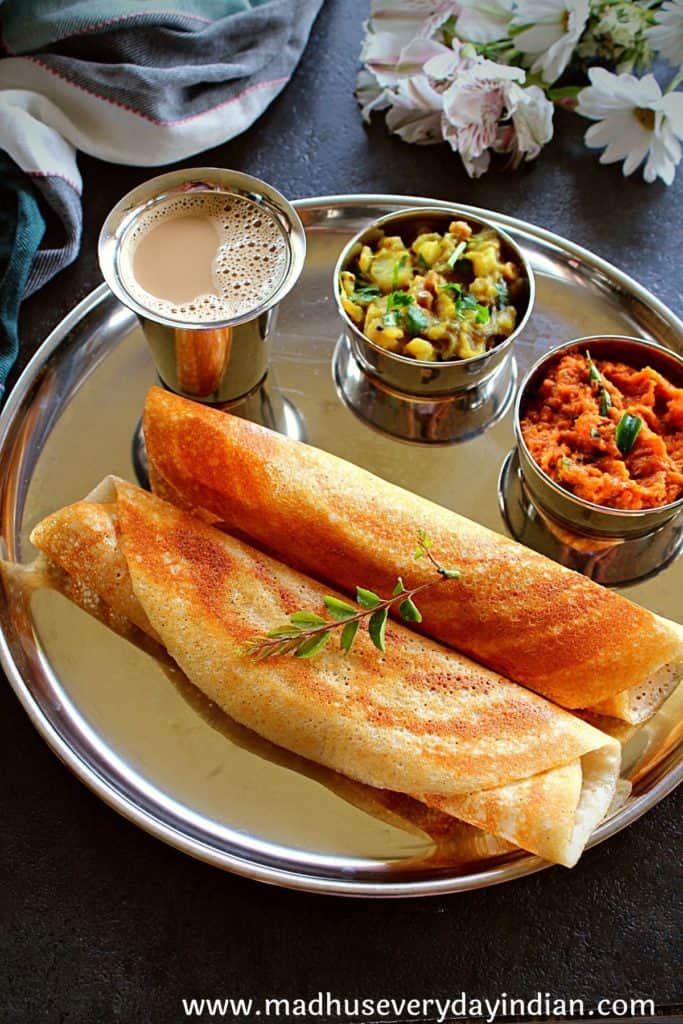
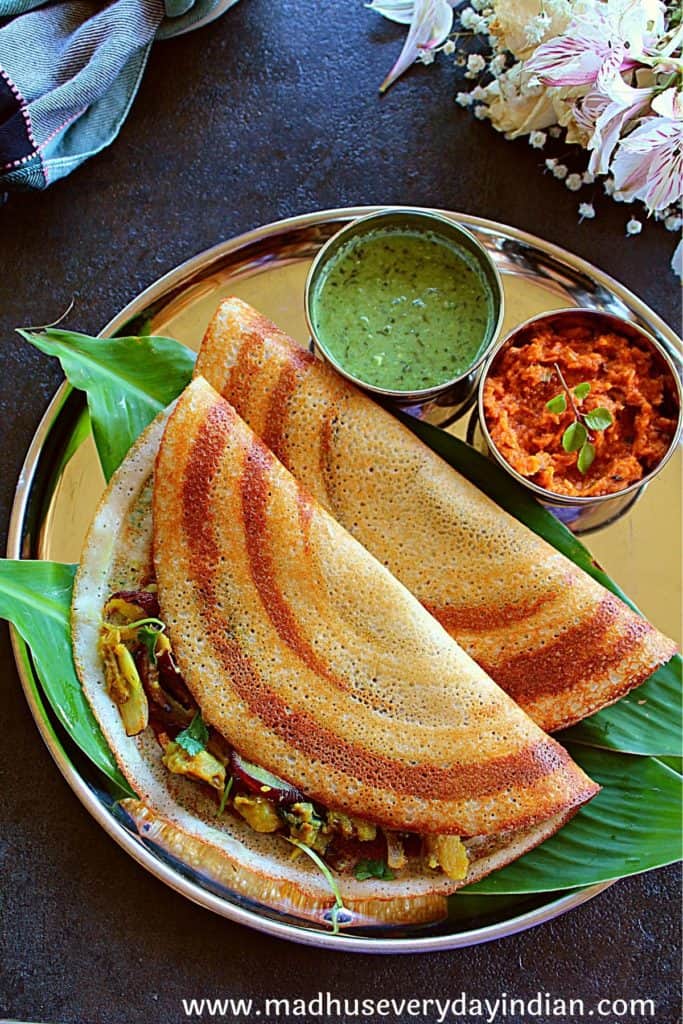
Golden Crispy Brown rice dosa ready to be served.
Serving Suggestions
Serve the Brown rice flour dosa with potato palya and onion chutney or Andhra peanut chutney.
4 important steps to makes the best tasting crispy dosa –
1 – Ingredients – Use whole urad and donot skip chana dal and methi. Methi helps with fermentation and chana dal gives the golden brown color to dosa.
2- Soaking and Grinding – Soak the dal for atleast 5 hours and grins till smooth paste. If you blender heats up, add some ice or use cold water.
3 – Fermenting the batter – fermentation is extremely important when making dosa batter. If you live in cold place you can ferment the batter in the oven with or in the instant pot. I have been fermenting my batter in the instant pot and this method gives me consistent results every single time.
4 – Using a cast iron skillet to make the dosa – cast iron skillet heats the pan uniformly and will give you crispy golden crust dosa.
Frequently Asked Questions
We need to maintain proper temperature of the tawa (pan). First heat the tawa in medium flame and spread some oil and wipe it off. Then splash some water and wipe it off. Reduce the heat to low while pouring and spreading the batter and then increase the temperature, add oil and cook till golden.
To make it brown add the right amount of chana dal and cook it in the cast iron skillet.
Make sure the batter consistency is neither too thick nor too thin before you ferment it. Also the batter needs to be placed in a warm place to ferment better.
What else can I make with Dosa batter?
If you tried this Brown Rice Flour Dosa, do share your feedback in the comment section below. For more recipes, follow me on Facebook and Instagram.

Brown Rice Flour Dosa
Equipment
- Instant Pot
Ingredients
- 3 cups brown rice flour
- 1 cup whole urad dal
- 2 teaspoons chana dal
- 1 teaspoons methi seeds ( fenugreek seeds)
- salt to taste (use non iodine salt)
- about 5 cups of water ( 1 ½ cups to grind urad dal + 3 ½ cups to add with brown rice flour)
- Oil as required while making the dosa
Instructions
Soaking & Grinding-
- Wash the urad dal, methi and chana dal and soak in plenty of water for 5 hours.
- Discard the soaked water and grind urad dal, methi, chana dal with 1 ¼ cup of cold water to a smooth paste.
- Transfer it to a bowl. Add ¼ cup of water to the jar to get rest of the batter out. Add rice flour, salt and enough water ( start with 3 cups and add another ½ cup as needed) to make a batter with a consistency similar to pan cake batter.
- Initially use a whisk to remove any lumps and later with clean hands mix the batter for 1 to 2 minutes.
Fermenting the dosa batter-
On counter top-
- If you live in warm place, leave the batter covered in the counter top. The batter will ferment with in 8 hours.
- If you live in cold place, in winter you need at least 12 to 14 hours for the batter to ferment. In summer it may take 8 to 10 hours to ferment.
In the oven –
- Place a the batter in the oven with the light on and ferment it over night. To avoid any spilling place a plate or large bowl under the pot.
Instant Pot-
- Transfer the batter to the instant pot. close the pot with a large plate or a glass lid. Do not use the regular instant pot lid.
- Turn the instant pot on and press the yogurt button and adjust the time to 12 to 14 hours. If you live in a much colder place, you can ferment the batter for couple more hours.
- The next day the batter will be ready. The volume will not double with rice flour dosa, but will ferment very well. It will be frothy and will have bubbles on the top.
Making the dosa-
- Heat a cast iron skillet, apply oil and smother it evenly. Splash some water and wipe it off with a paper towel.
- Stir the fermented batter and pour a ladle of the batter in the center of the skillet. Spread the batter into a thin circle. Drizzle a teaspoon of oil all around the dosa.
- Close the lid for 45 seconds. When you remove the lid you will see that the edges turning golden brow. Drizzle some ghee or oil and cook for another 20-30 seconds.
- If you have potato masala, add it now and fold the dosa.
- Remove the dosa and serve immediately with chutney and sambar. Repeat the process with the rest of the batter.
Notes
-
Do not leave the batter to ferment more than 15 -16 hours. If that happens the batter would develop a rotten smell.
- Store the left over dosa batter in the refrigerator for 3 to 4 days.
- Remove the dosa batter from the refrigerator atleast an hour before making the dosa.
- Please note that I have made only half the portion of the recipe.
- The amount of water added to the batter may slightly differ depending on the kind of brown rice flour used.
dosa noob
I made this. I omitted chana dal as i didnt have any. The dosa browns perfectly on pan but is extremely soft and not crispy at all. What do i need to do to make it crispier? I dont think temperature was the problem
Madhavi
There could be few reasons why the dosa turned out soft.1- is the batter fermented well? 2- Highly recommend using a cast iron skillet for crispy dosa. 3- Before making the dosa, spread some oil and wipe it off and keep the heat to low. Spread the dosa, add oil on the edges and in the middle and close it with a lid. Increase the flame and cook for a minute. Remove the lid and cook for another minute or till all the moisture is absorbed and the dosa becomes golden. Hope this really helps!
dosa noob
1. the dosa was fermented well because otherwise it wouldn’t have browned perfectly after cooking.
2. I’ve used the same pan for other types of dosa and they came out crispy, so I am assuming it’s the dosa batter.
3. I can try this method.
I read somewhere else that it’s because the dosa batter is too smooth and not coarse. would that be the problem?
Madhavi
I have been making brown rice flour and white rice flour dosa for many years now and always get crispy dosa. So not sure what could have gone wrong.
Vasugi
Can you make this Dosa in a Futura Dosa non-stick Tava? I’m going to try this as I’m trying to lose weight using minimum amount of oil.
Madhavi
You should be able to make the dosa with out oil.
Sujatha
Wow very nice