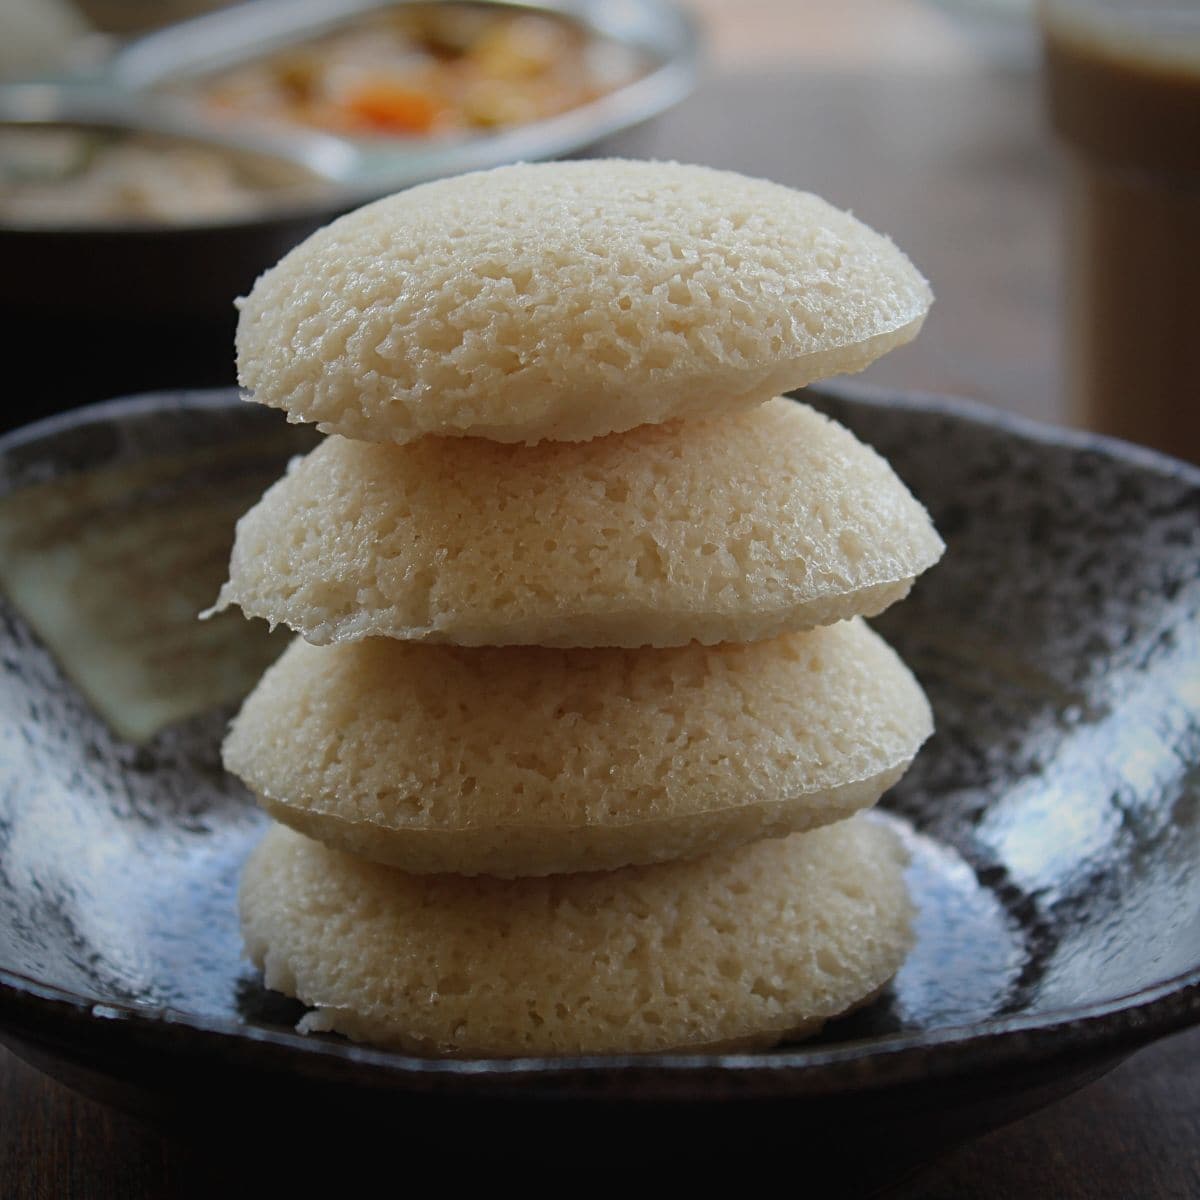
Idli, the quite essential South Indian breakfast is a savory rice cake made by fermenting dal and rice.
Sharing easy method of making soft Idli made with Idli Rava in the mixer.
WHAT IS IDLI?
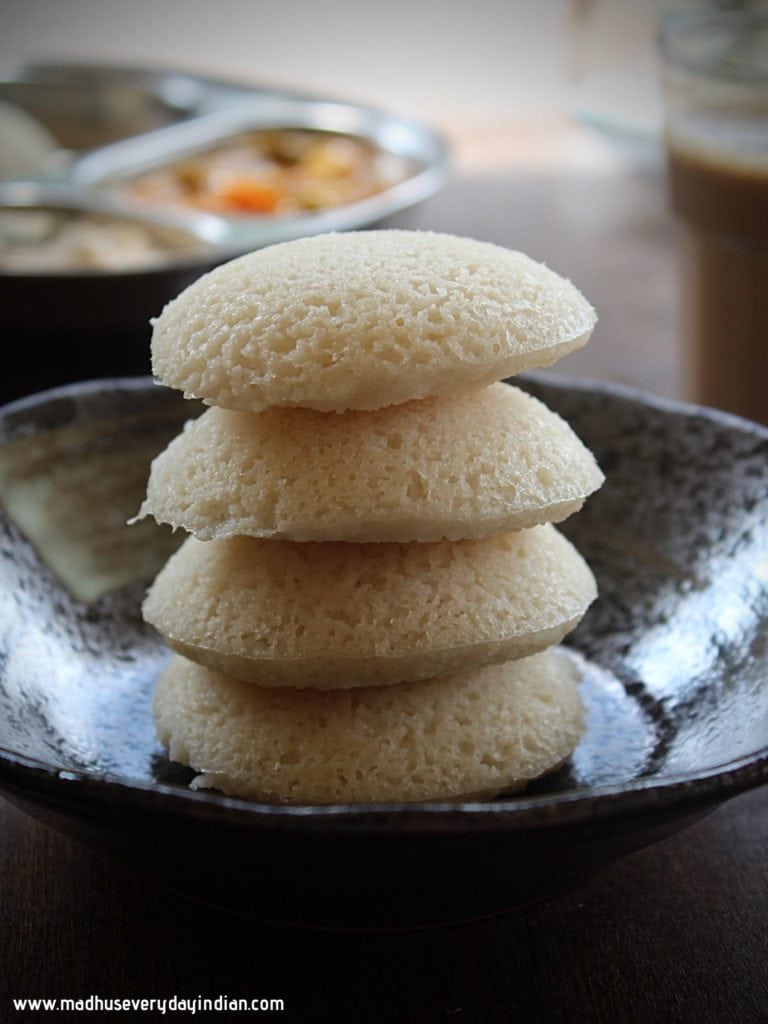
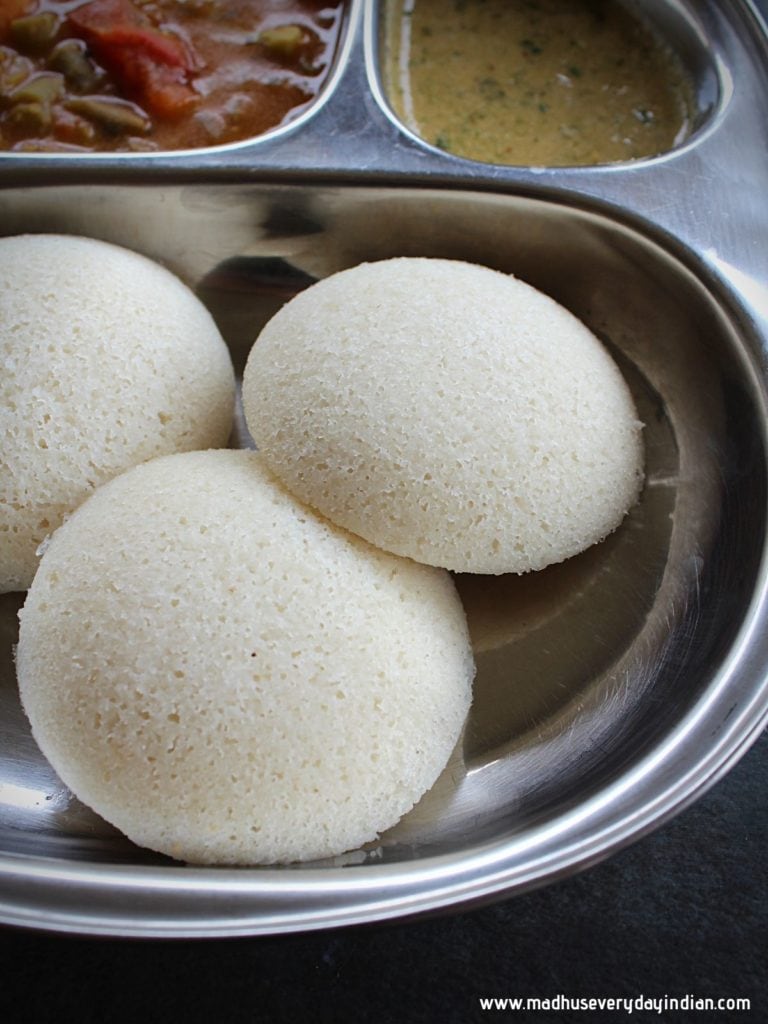
Idli is a savory steamed rice cake, a popular breakfast dish from South India. They are soft and just melts in your mouth.
WHAT IS IDLI MADE OF?
The two main components of making Idli are Idli rice (or Idli Rava) and Whole Urad dal. These ingredients are soaked, ground, fermented and steamed to make Idly.
The classic method of making Idli is with Idli rice which is ground in a wet grinder. But today I will be sharing Idli recipe made with idli rava.
In Andhra I have grown up eating Idli which were made with Idli rava ( rice rava). This method is fairly simple as you don’t need to soak and grind the rice.
If you are some one who is overwhelmed with the procedure on making Idli, this recipe is a saver. To make the process easy, I am sharing detailed step by step pictures.
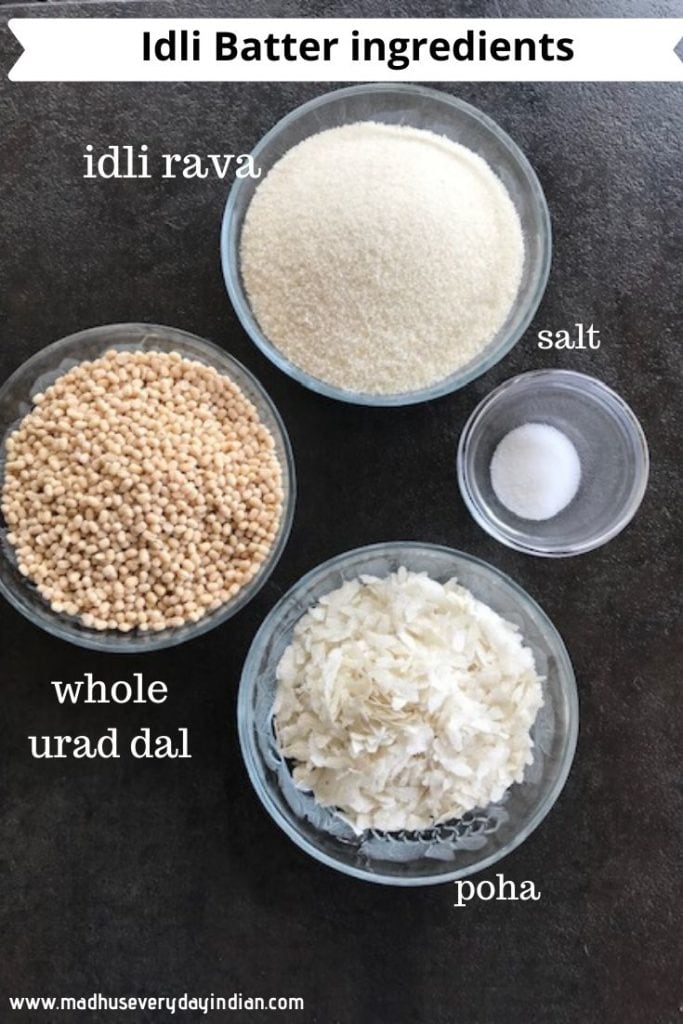
INGREDIENTS NEEDED TO MAKE IDLI WITH IDLI RAVA –
HOW TO MAKE IDLI WITH IDLI RAVA IN MIXIE ( STEP BY STEP PICS)
SOAKING THE INGREDIENTS –
- Rinse the urad dal and methi seeds about two to three times and soak in plenty of water for 6 to 8 hours.
- Add water to the idli rava and mix it well. Set a side for 30 seconds. The rava will settle in the bottom, now slowly discard the water. Repeat rinsing the rava two more times. Now add plenty of water and soak the idli rava for six hours.
- Wash the poha and soak in ¾ th cup of water for minimum of 2 hours. Poha will soak up all the water and plump up. (You can also soak the poha at the same time when you soak the dal and rava.)
GRINDING THE IDLI BATTER –
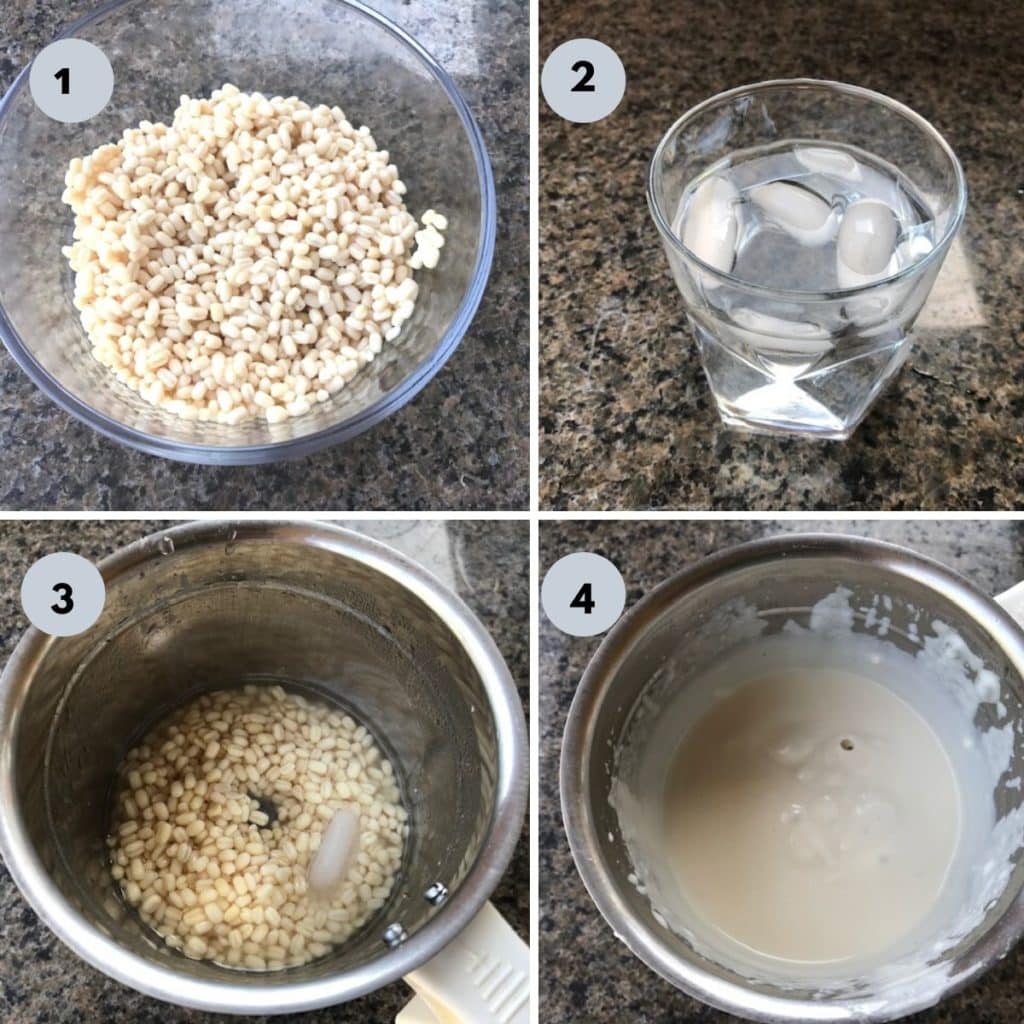
1- Drain all the water from the soaked urad dal.
2- Add few ice cubes to ¾ cup of water. The cold water will help the mixie jar from over heating.
3- Add the drained urad dal and ½ cup of cold water to the mixie jar.
4- Grind the dal for couple of minutes till smooth and bubbly. Transfer it to a container.
5- Add the soaked poha and ¼ cup of water to the jar.
6- Grind till smooth. If the batter is too thick while grinding add about ¼ cup of water.
7- Transfer the ground poha to the same container as the dal.
8- Drain the water from the idli rava.
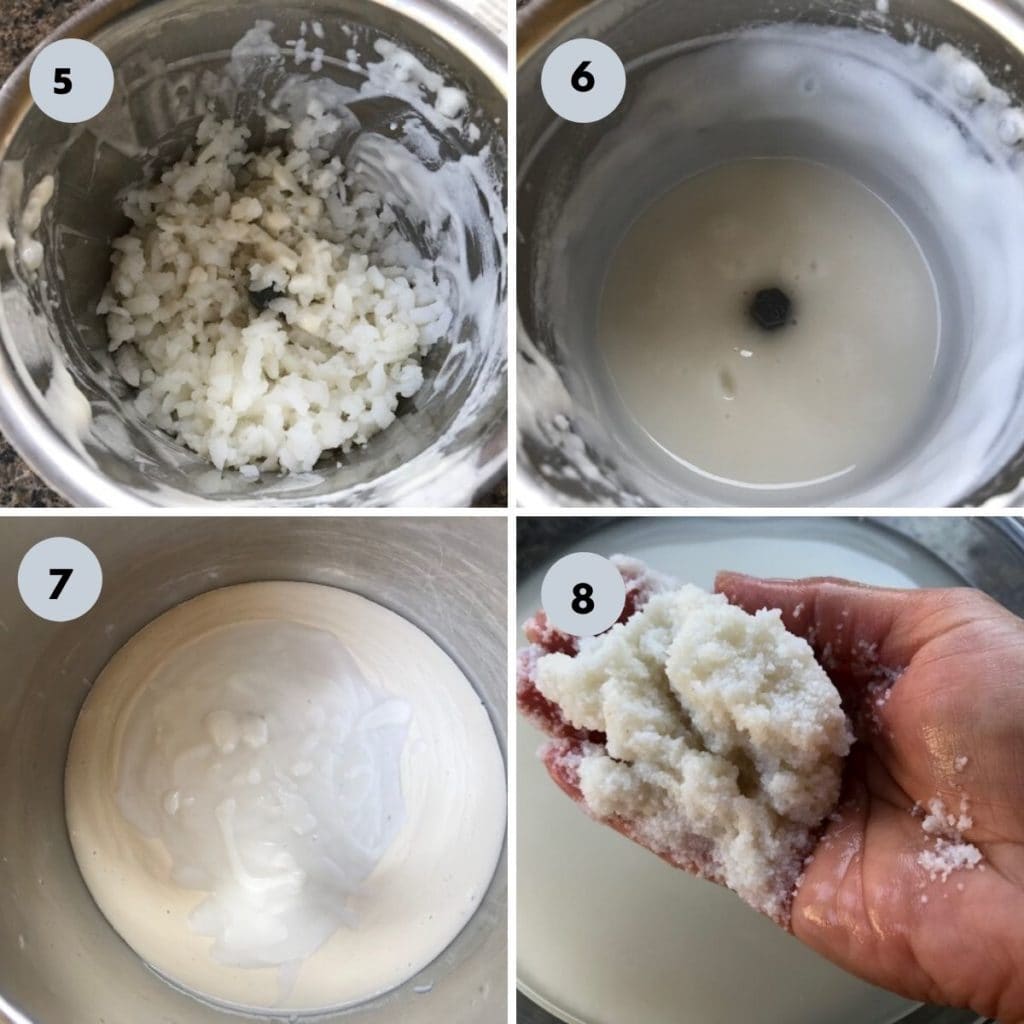
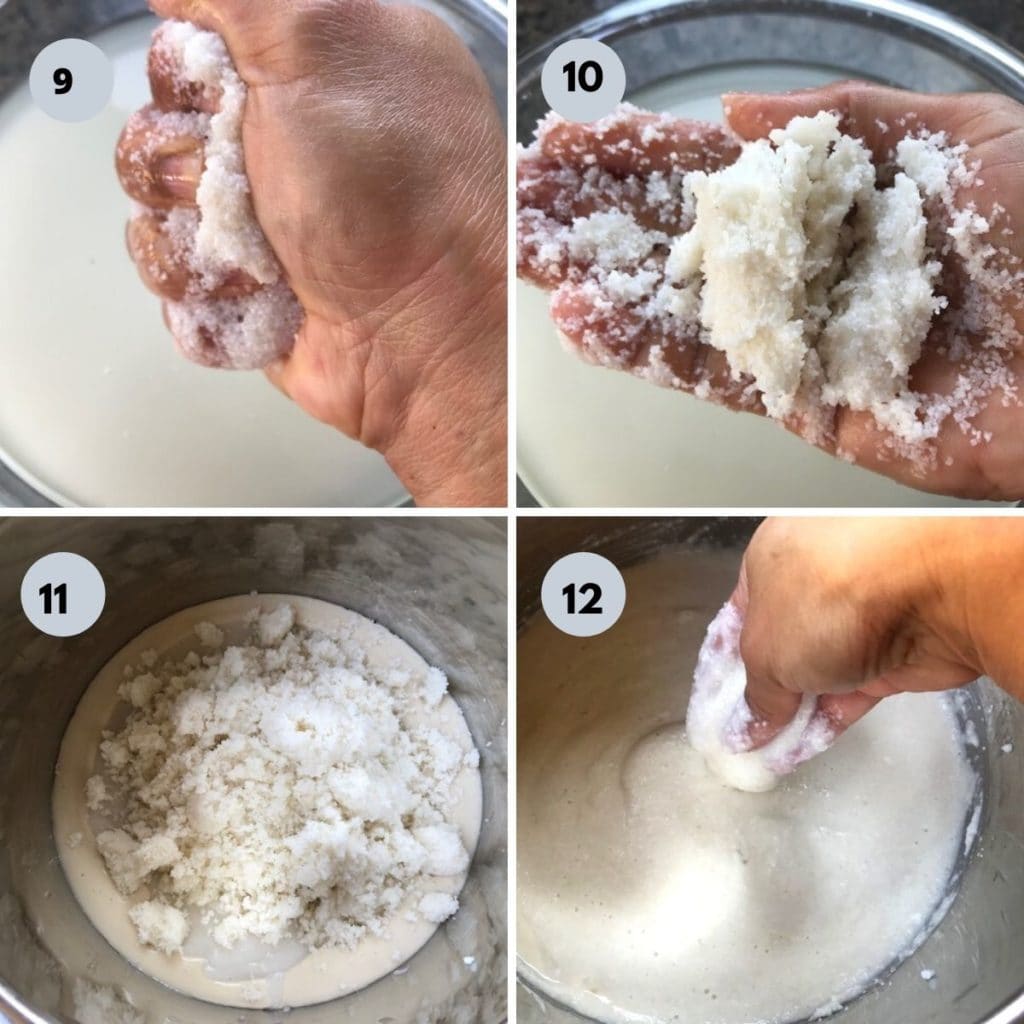
9 & 10 – Take handful of the rava in to your palm and squeeze out as much water as you can from the rava. It is very important to squeeze out as much water as you can.
11- While you can add the rava directly to the batter, I prefer grinding it a bit. Add the rava to a blender and pulse it 3 to 4 times for few seconds.
12- Add non iodized salt and with clean hands mix the batter for up to 3 minutes. If the batter is too thick add little more water. Mixing the batter with hands helps in fermentation process.
FERMENTING THE IDLI BATTER –
Fermentation can be done in many ways, depending on where you live-
1- If you live in a hot place, just cover the batter and leave it in a corner. You can also cover it with a towel and leave it in a dark place. The batter ferments well with in 8 hours.
2- If you live in a cold place or have central Air Conditioning, you can ferment the batter in the oven or in the instant pot.
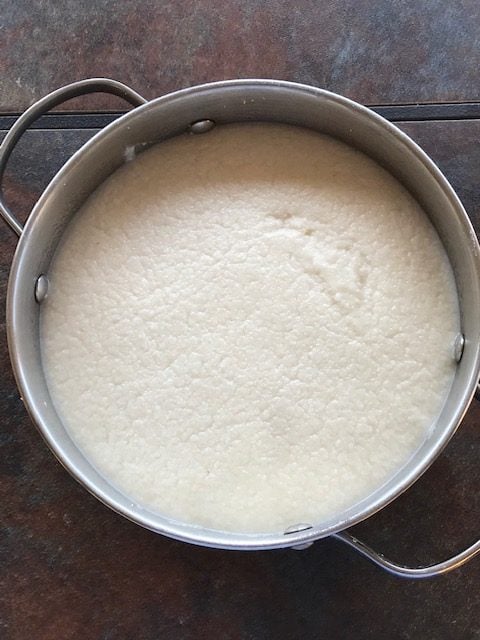
3- Fermenting batter in the oven – this can be done in two ways. You can preheat the oven to 250 F. Turn off the oven, turn the light on and place the batter to ferment over night. The second method is to just turn the light on and ferment the batter over night or atleast 10 to 12 hours. If you are making a large quantity, its a good idea to put a tray under the vessel to avoid over flow. Its not fun to clean the over flown batter in the oven.
Idli batter fermented in the oven
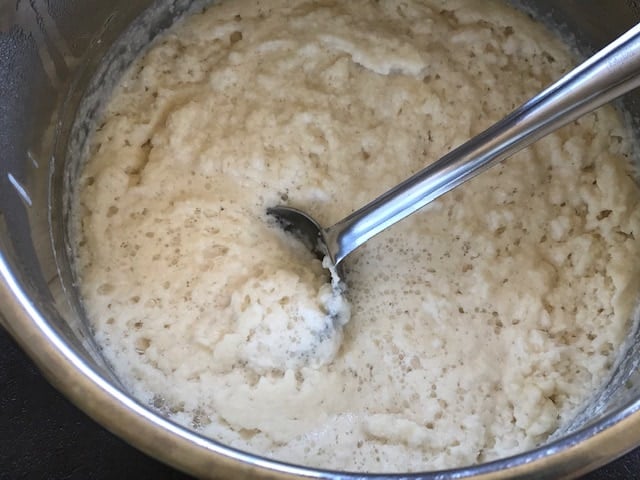
4- Fermenting batter in the instant pot – After grinding the batter, transfer it to the instant pot vessel. Turn on the yogurt mode and adjust the time to 12 hours. Close the pot with a steel or a glass lid.
Do not use the instant pot lid to close, if the batter over flows the lid can get stuck.
The well fermented batter will increase in volume and will be frothy and bubbly.
Idli batter fermented in the instant pot
STEAMING THE IDLI –
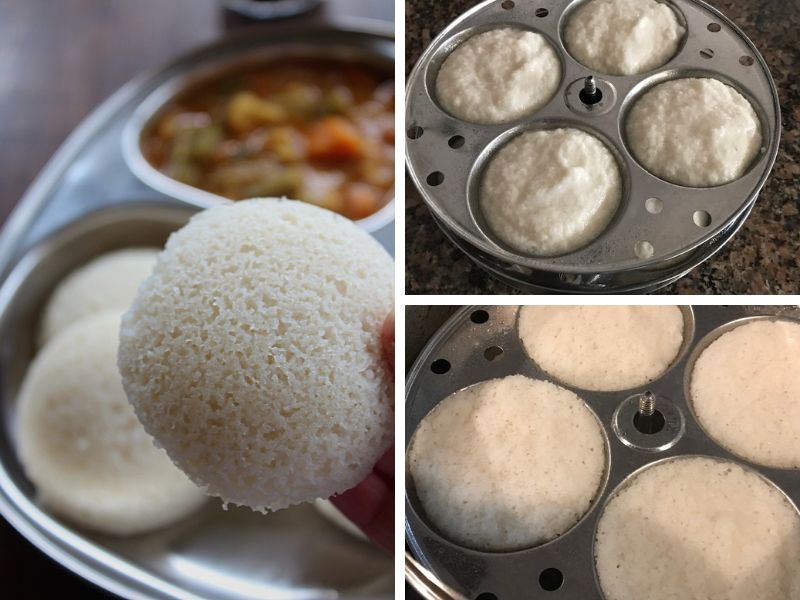
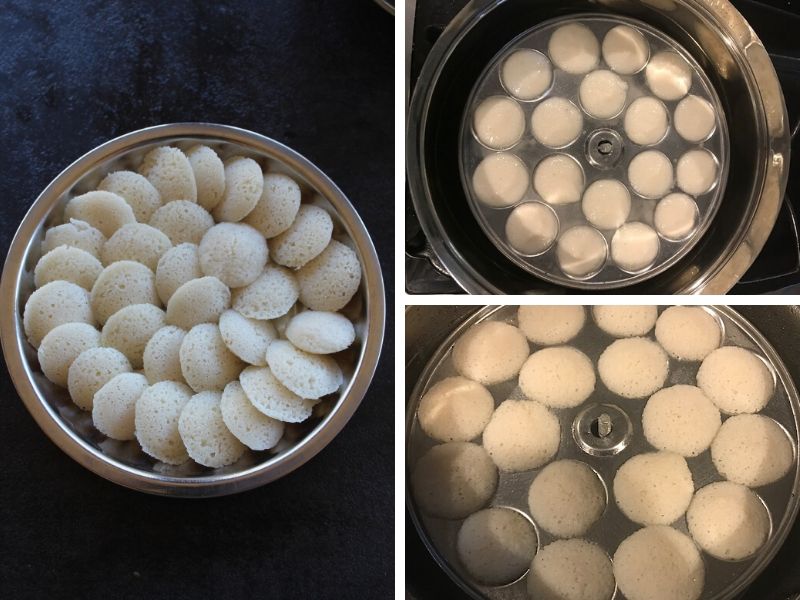
Grease the idli plates with oil and fill the molds with the batter.
If using instant pot, add 1.5 cups of water in to the instant pot vessel and let it boil in the saute mode. Once the water boils, press cancel and place the idli plates and close the lid and cook it in steam mode in the venting position. Keep an external timer and cook for 10 minutes and do a quick release after 30-45 seconds. Let the idli rest for 3 minutes in the idli stand and then remove the idli with the help of a spoon.
If using Idli steamer or pressure cooker, boil 1.5 cups of water and place the idli stand filled with idli batter. Close the lid and steam the idli for 8 minutes on high. If using pressure cooker do not place the whistle. Remove the idli when the pressure releases naturally. Let the idli rest for 2 minutes in the idli stand and then remove the idli with the help of a spoon.
Steaming Mini Idli –
If using Idli steamer or pressure cooker, steam for 6 to 7 minutes.
If using Instant Pot, steam for 7 to 8 minutes and do a quick release after 30 seconds.
FEW TIPS TO GET THE PERFECT SOFT IDLI-
Idli batter proportion? I use 1:2 ratio, that is 1 part urad dal to 2 part idli rava.
Use whole urad dal – I cant emphasize enough on this. Using whole urad helps in volume and also getting soft idli.
Can I skip Poha? you can, but I highly recommend using it. Especially since we are using idli rava and grinding in the mixie. Poha helps in getting soft Idli’s.
What kind of Idli Rava to use– If possible try to find thin Idli rava, if the grains are big I would recommend grinding the rava for few seconds after soaking.
What kind of salt to use? Use non iodized salt or rock salt.
Mixing the batter with hands helps in fermentation.
Use cold water to grind the batter. You can also place the dal and poha in the refrigerator for one hour prior to grinding.
SERVING SUGGESTIONS-
The best part about eating Idli are the sides they are served with. You can serve the Idli with coconut chutney, peanut chutney and sambar.
FEW MORE SOUTH INDIAN BREAKFAST RECIPES –
Instant Oats Dosa & Instant Oats Idli
If you tried this recipe, don’t forget to give a star rating below. For more recipes and to see what’s cooking in my kitchen, follow me on Facebook, Pinterest and Instagram.
Instant Pot Soft Idli made with Idli Rava
Equipment
- Mixie or blender
Ingredients
- 1 cup + 1 tbsp Idli Rava (rice rava)
- ½ cup whole urad dal
- ½ cup thick poha
- about 6 to 8 methi seeds (optional) but helps with fermentation
- salt to taste ( about 1 tsp)
- ¾ cup of water about (for grinding the dal and poha)
- few ice cubes for grinding the dal
- little oil to grease the idli plates
Instructions
Soaking the ingredients –
- Rinse the urad dal and methi seeds about two to three times and soak in plenty of water for 6 to 8 hours.
- Add water to the idli rava and mix it well. Set a side for 30 seconds. The rava will settle in the bottom, now slowly discard the water. Repeat rinsing the rava two more times. Now add plenty of water and soak the idli rava for six hours.
- Wash the poha and soak in ¾ th cup of water for minimum of 2 hours. Poha will soak up all the water and plump up. (You can also soak the poha at the same time when you soak the dal and rava)
Grinding the Idli Batter –
- Drain all the water from the soaked urad dal.
- Add few ice cubes to ¾ cup of water. The cold water will help the mixie jar from over heating.
- Add the drained urad dal and ½ cup of cold water to the mixie jar.Grind the dal for couple of minutes till smooth and bubbly. Transfer it to a container.
- Add the soaked poha and ¼ cup of water to the jar. Grind till smooth. If the batter is too thick while grinding add another ¼ cup of water. Transfer the ground poha to the same container as the dal.
- Drain the water from the idli rava. Take handful of the rava in to your palm and squeeze out as much water as you can from the rava. It is very important to squeeze out as much water as you can.
- While you can add the rava directly to the batter, I prefer grinding it a bit. Add the rava to a blender and pulse it 3 to 4 times for few seconds.
- Add non iodized salt and with clean hands mix the batter for up to 3 minutes. If the batter is too thick add little more water. Mixing the batter with hands helps in fermentation process.
Fermenting the Idli Batter –
- If you live in a hot place, just cover the batter and leave it in a corner. You can also cover it with a towel. The batter ferments well with in 8 hours.
- If you live in a cold place or have central Air Conditioning, you can ferment the batter in the oven or in the instant pot.
- Fermenting batter in the oven – this can be done in two ways. You can preheat the oven to 250 F. Turn off the oven, turn the light on and place the batter to ferment over night. The second method is to just turn the light on and ferment the batter over night or atleast 10 to 12 hours. If you are making a large quantity, its a good idea to put a tray under the vessel to avoid over flow.
- Fermenting batter in the instant pot – After grinding the batter, transfer it to the instant pot vessel. Turn on the yogurt mode and adjust the time to 12 hours. Close the pot with a steel or a glass lid.
- Do not use the instant pot lid to close, if the batter over flows the lid can get stuck.
- The well fermented batter will increase in volume and will be frothy and bubbly.
Steaming the Idli –
- Grease the idli plates with oil and fill the molds with the batter.
- If using instant pot, add 1.5 cups of water in to the instant pot vessel and let it boil in the saute mode. Once the water boils, press cancel and place the idli plates and close the lid and cook it in steam mode in the venting position. Keep an external timer and cook for 10 minutes and do a quick release after 30-45 seconds. Let the idli rest for 3 minutes in the idli stand and then remove the idli with the help of a spoon.
- If using Idli steamer or pressure cooker, boil 1.5 cups of water and place the idli stand filled with idli batter. Close the lid and steam the idli for 8 to 10 minutes on high. If using pressure cooker do not place the whistle. Remove the idli when the pressure releases naturally. Let the idli rest for 2 minutes in the idli stand and then remove the idli with the help of a spoon.
Steaming Mini Idli –
- If using Idli steamer or pressure cooker, steam for 6 to 7 minutes.If using Instant Pot, steam for 8 minutes and do a quick release after 30 seconds.
- Serve the piping hot Idli with peanut chutney or coconut chutney and sambar.
Notes
- Add salt before the fermentation.
- When buying Idli Rava, try to find the thin variety rava. If there are couple of different brands of idli rava, take a close look and pick the one where the rava looks thin.
- The left over batter can be stored in the refrigerator for 3 to 4 days. Remove the batter atleast one hour before making the Idli.
- I have not used eno or baking soda in the recipe. If your batter does not ferment well, you can add little bit of eno or soda to get soft idli.
Nayna
Hi, thanks for the recipe. We are trying it for the first time today. We have kept it to ferment for a good 7 hours now and the dough has not risen/fermented at all. What tips do you have? Thanks.
Madhavi
During winter the fermentation can take any where from 10-12 hours. Hope this helps!
Tanuja
Awesome recipe
Madhavi
Thank You