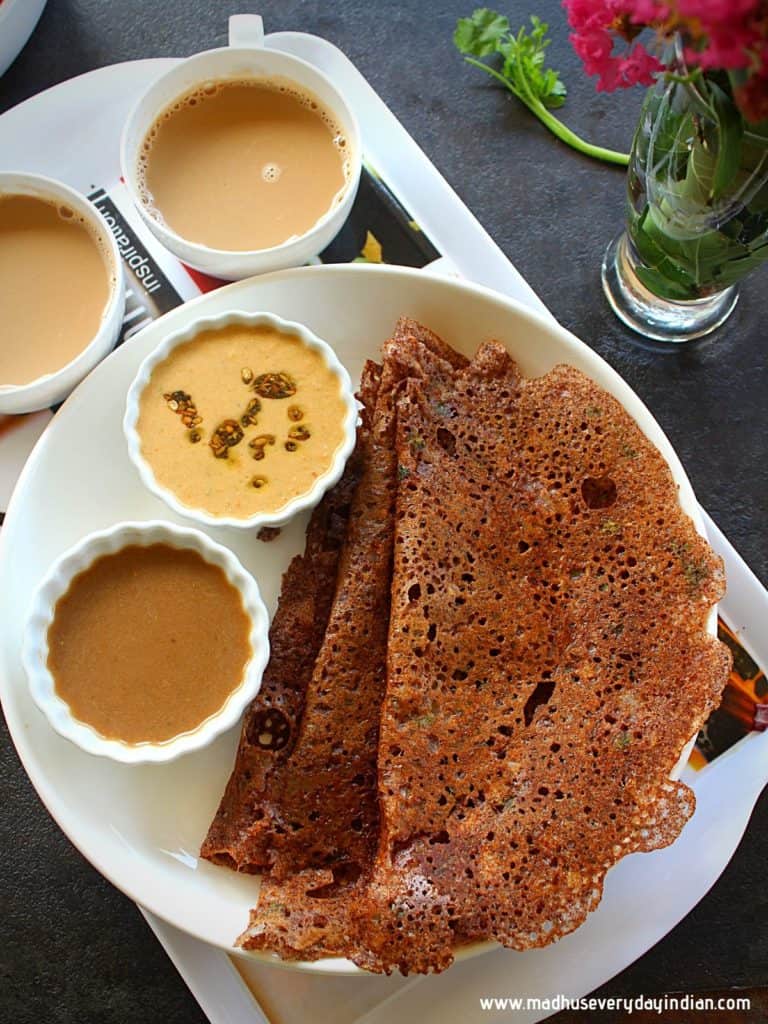
Ragi dosa is a nutritious and protein packed dosa made with finger millet flour. No fermentation is required and the dosa can be made instantly.
Ragi is a millet and is called nachni in Hindi and raagulu in Andhra. There are many different recipes which can be made with this wonder grain. Ragi Dosa is one such recipe, it is a savory crepe from South Indian Cuisine.
There are two ways you can make the Ragi dosa –
- the first method is by grinding whole ragi with urad dal and
- the second method is by using ready made ragi flour.
I will be using the second method and make the dosa with ragi flour, semolina, rice flour, onion, ginger and green chili.
This Instant Ragi Dosa
- is a healthy and tasty dish
- requires no fermentation
- can be served for breakfast, lunch or dinner
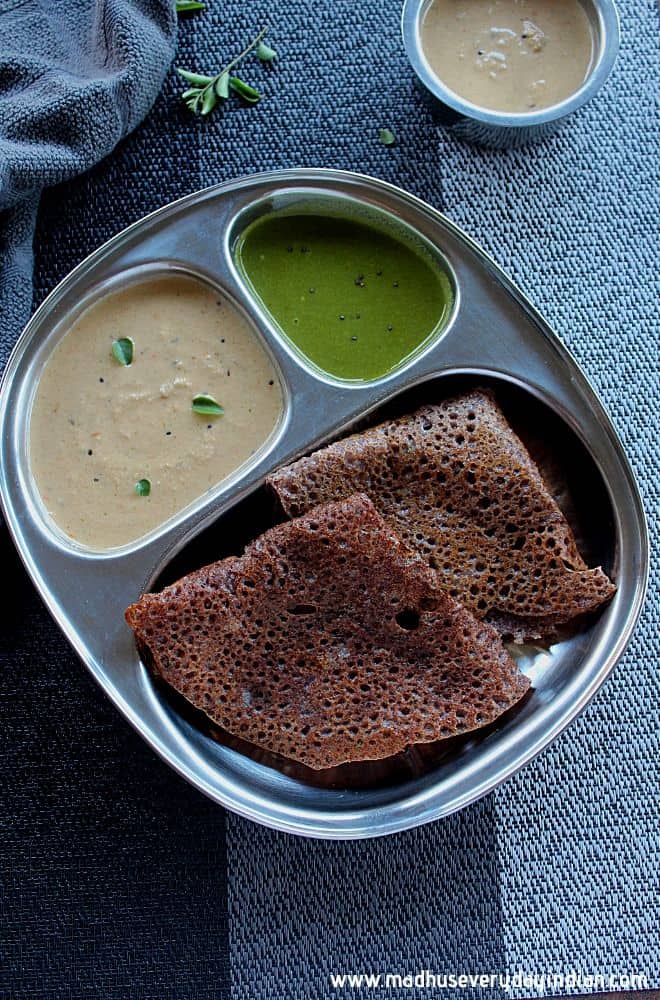
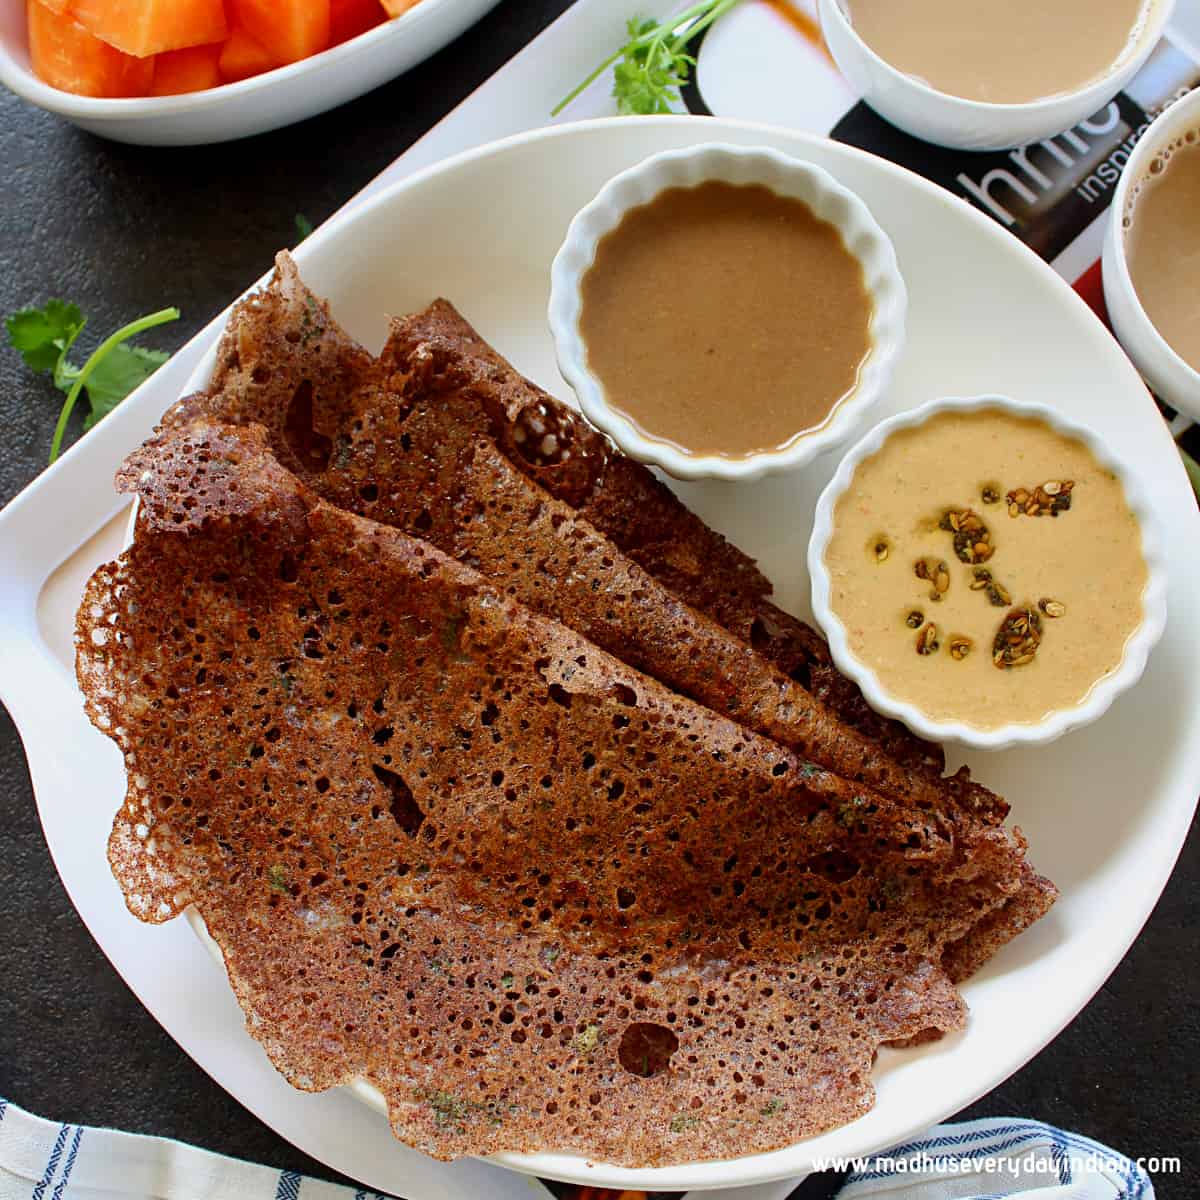
- is served with coconut chutney, ginger chutney or peanut chutney
Ingredients needed :

Step by Step Instructions:
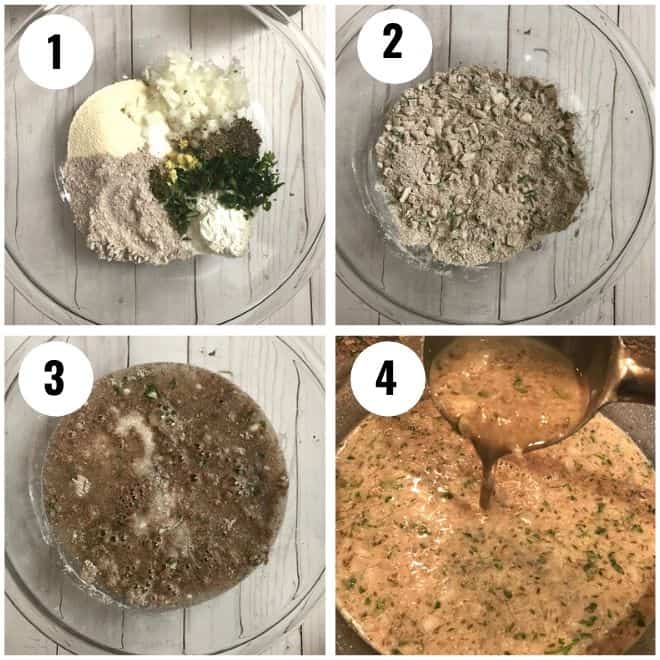
1 & 2 – To make the batter – to a large bowl add the ragi flour, rava (semolina), rice flour, onion, green chili, ginger, cumin seeds, curry leaves, cilantro, black pepper and salt. Mix well to combine.
3- Add the whisked yogurt and 3 cups of water. Whisk to remove any lumps. Cover and set a side for 20 minutes.
4 – After 20 minutes of soaking, I added another ½ cup of water to the batter. The amount of water may vary depending on the rava and flour used. The total amount of wtare I used was 3 ½ cups. Basically we are looking for a batter which has the consistency of butter milk.
If you are not sure about the amount of water, make one dosa and depending on how it turned out, you can always add more water.
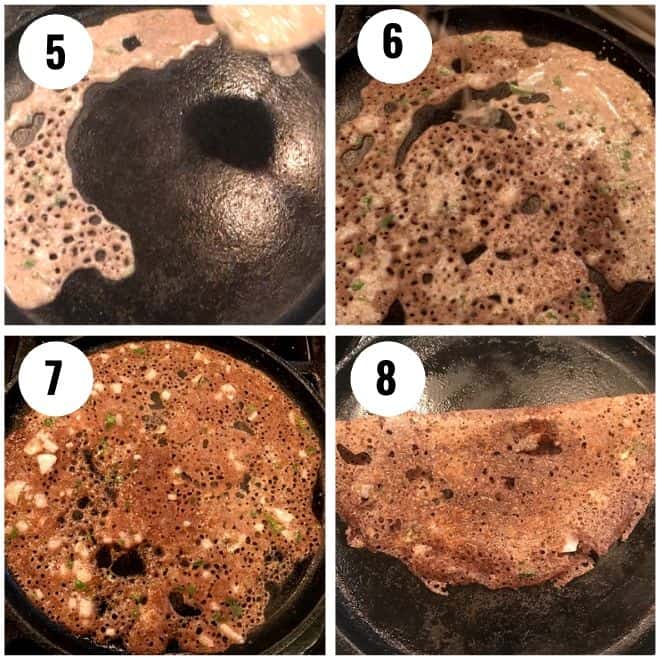
5 & 6 To make the dosa, heat a cast iron skillet or non stick tava on medium heat. Once the pan is hot, drizzle some oil and wipe it off with a paper towel.
Take a ladle full of batter and pour the batter about 6 inches above the pan, this will give us a nice lacey dosa. Pour the batter from outside to inside and fill in any gaps, making sure not to pour the batter on the same spot again.
7 – If there are big gaps, fill those and cook the dosa for 1-2 minutes. Now drizzle some oil on the sides and in the middle. You may want to adjust the heat depending on your stove type.
Ragi dosa will take more time to cook then a regular dosa.
8 – Once the dosa looks crispy on the sides, you can use a spatula to loosen it up. Gently remove the dosa and serve with your favorite chutney. You don’t have to cook on the second side, but if you feel the dosa is soft you can certainly cook the other side.
To make it vegan, skip the yogurt.
Tips to make Crispy Ragi Dosa:
- The batter should be thin with a consistency similar to butter milk.
- Use a cast iron skillet for best results
- Mix the batter every single time before making the dosa, if not the rava settles to the bottom.
- Pour the batter about 6 inches above the pan, this will give us a nice lacey dosa. Pour the batter from outside to inside and fill in any gaps, making sure not to pour the batter on the same spot again.
- Cook on medium heat till sides get brown.
- Coat the pan with little oil and wipe it off before making each dosa, this will help from sticking.
More Ragi Recipes –
If you tried this recipe, don’t forget to give a star rating below. For more recipes and to see what’s cooking in my kitchen, follow me on Facebook, Pinterest and Instagram.
Instant Ragi Dosa
Equipment
- cast iron skillet or non stick pan
Ingredients
- 1 cup ragi flour (finger millet flour/nachni/raahulu)
- ½ cup rava (suji/semolina)
- ¼ cup rice flour
- 1 medium onion, finely chopped
- 1 inch ginger, finely chopped
- 2 green chili, finely chopped
- ½ cup plain yogurt, whisked
- 1 tsp cumin seeds
- ½ tsp crushed black pepper
- 2 sprig curry leaves, finely chopped
- 2 tbsp cilantro, finely chopped
- 3 to 3 ½ cups water
- salt to taste
- oil to make dosa
Instructions
- To make the batter – to a large bowl add the ragi flour, rava (semolina), rice flour, onion, green chili, ginger, cumin seeds, curry leaves, cilantro, black pepper and salt. Mix well to combine.
- Add the whisked yogurt and 3 cups of water. Whisk to remove any lumps. Cover and set a side for 20 minutes.
- After 20 minutes, I added another ½ cup of wate. The amount of water may vary depending on the rava and flour used. The total amount of wtare I used was 3 ½ cups. Basically we are looking for a batter which has the consistency of butter milk.
- If you are not sure about the amount of water, make one dosa and depending on how it turned out, you can always add more water.
- To make the dosa, heat a cast iron skillet or non stick tava on medium heat. Once the pan is hot drizzle some oil and wipe it off with a paper towel.
- Take a ladle full of batter and pour the batter about 6 inches above the pan, this will give us a nice lacey dosa. Pour the batter from outside to inside and fill in any gaps, making sure not to pour the batter on the same spot again.
- If there are big gaps, fill those and cook the dosa for 1-2 minutes. Now drizzle some oil on the sides and in the middle. You may want to adjust the heat depending on your stove type.
- Ragi dosa will take more time to cook then a regular dosa. Once the dosa looks crispy on the sides, you can use a spatula to loosen it up. Gently remove the dosa and serve with your favorite chutney. You don’t have to cook on the second side, but if you feel the dosa is soft you can certainly cook the other side.
Notes
- Always stir the batter before making the dosa.
- Making perfectly crispy ragi dosa comes by practice. Once you get a hang of it, you will love making them.
- Adjust the amount of water depending on how thin and crispy you like the dosa. If you have not made the ragi dosa before, add little less water and try one dosa. You can always add more water.
- When you pour the batter in the pan, the pan should be hot. Reduce the heat a little, while the dosa is cooking.
- Pour the batter about 6 inches above the pan, this will give us a nice lacey dosa.
Pratishtha
I made this dosa, it came out very crisp and yummy. The biggest challange is to feed healthy foodto kids, but my kidsliked it a lot. Thanksfor this recipe.
Madhavi
Thank you Pratishtha for sharing your feedback. It makes me so happy to know that the kids enjoyed the dosa too.
Sujatha
Wow this food emazing. Good for health food. One should try.
Madhavi
Thank you. Hope you try it some time.